How to start with SAST pipelines
In this guide for developers we describe how to easily run static application security testing (SAST) as part of GitLab CI/CD.

This guide describes how to start Static application security testing (SAST) in GitLab as efficiently as possible. SAST is a process where we use static code analysis to look for potential vulnerabilities.
There are many SAST tools. We chose the GitLab SAST template because it has a zero-effort setup, and you can deploy these scanners through a few lines of code.
Mentioned tools can also be runned manually or runned via pre-commit hooks.
Motivation
Why would anyone want to deploy something that adds more work? Yes, SAST adds the work of analyzing the results and looking for true and false positives. But the cost of not using it is much higher, without any testing, you are relying on the fact that it has not yet been worthwhile for attackers to examine your application.
Also, if you can catch vulnerabilities during development, fixing them is much easier than mitigating them after a release.
Tools used for SAST
- Semgrep (semantic grep) is a text search command-line utility for static code analysis. Semgrep is aware of source code semantics and supports many languages includng Python, C#, Java, JavaScript and others. It has several levels of plans, but the basic one we are most interested in is free for up to 10 contributors.
- Bandit is a tool designed to find common security issues in Python code. For each processed file, it builds an abstract syntax tree (AST) from it, and runs appropriate plugins against the AST nodes.
- Terrascan is a static code analyzer for Infrastructure as Code (IaC). It can detect security violations in the HCL (Terraform language), Dockerfiles, Kubernetes, Helm charts and more.
Tutorial
Location
SAST is a part of the CI/CD pipeline. The CI/CD configuration is located in the .gitlab-ci.yml file, located in the root of the project.
Built-in template
To be precise, the GitLab SAST template doesn’t rely only on one tool; it can run different tools based on different languages; you can check the list here. For example, if you use Python, the scan will be done with Semgrep and Bandit, another SAST tool.
NOTE: If GitLab chooses Semgrep, it runs it with its own GitLab managed rule-set, which differ from the default Semgrep rule set. From our experience, using GitLab built-in Semgrep is much worse than using it as a standalone tool. See custom Semgrep example below.
To enable built-in GitLab SAST, add .gitlab-ci.yml file into your repository with these contents:
include:
- template: Jobs/SAST.gitlab-ci.yml
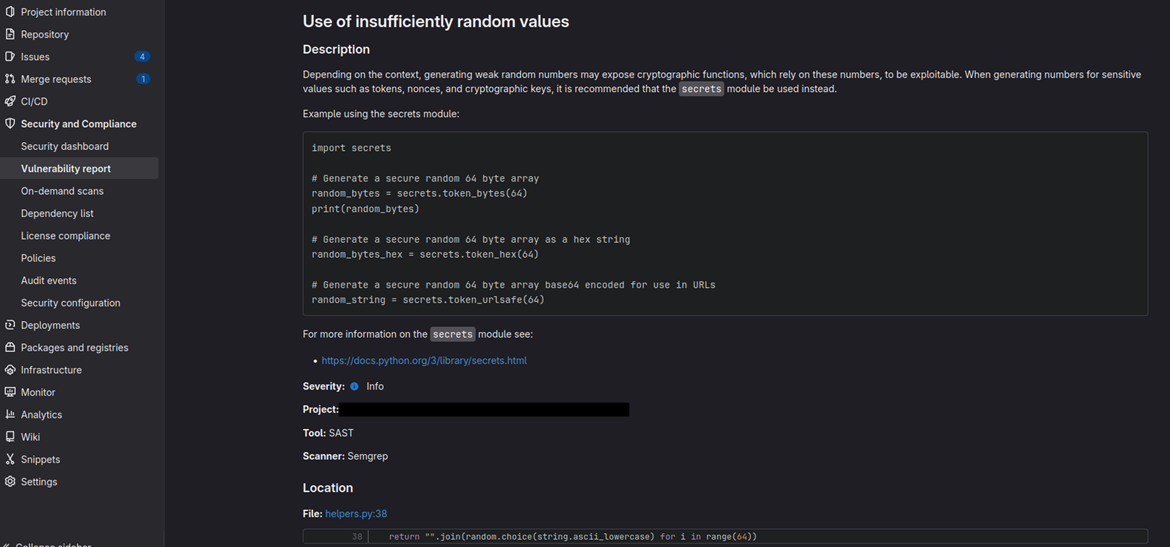
Results will be available after the job finishes in Security and compliance > Vulnerability report and can look like this:

Integrating the SAST template into existing CI/CD pipelines
A setup can be trickier if you have an existing CI/CD pipeline. Jobs must have defined stages, and templates are run in the default test stage. Make sure to add the test stage to your existing stages. Here is an example:
include:
- template: Code-Quality.gitlab-ci.yml
- template: Security/SAST.gitlab-ci.yml
- template: Security/Secret-Detection.gitlab-ci.yml
stages:
- test
- test_code_quality
test_code_quality:
stage: test_code_quality
image: python:latest
before_script:
- pip install poetry
- python -m poetry config virtualenvs.in-project true
- python -m poetry install
script:
- python -m poetry run ruff check *.p
Be aware that templates have enabled the allow_failure flag, so other stages will be executed even if the template check fails.
Custom pipelines

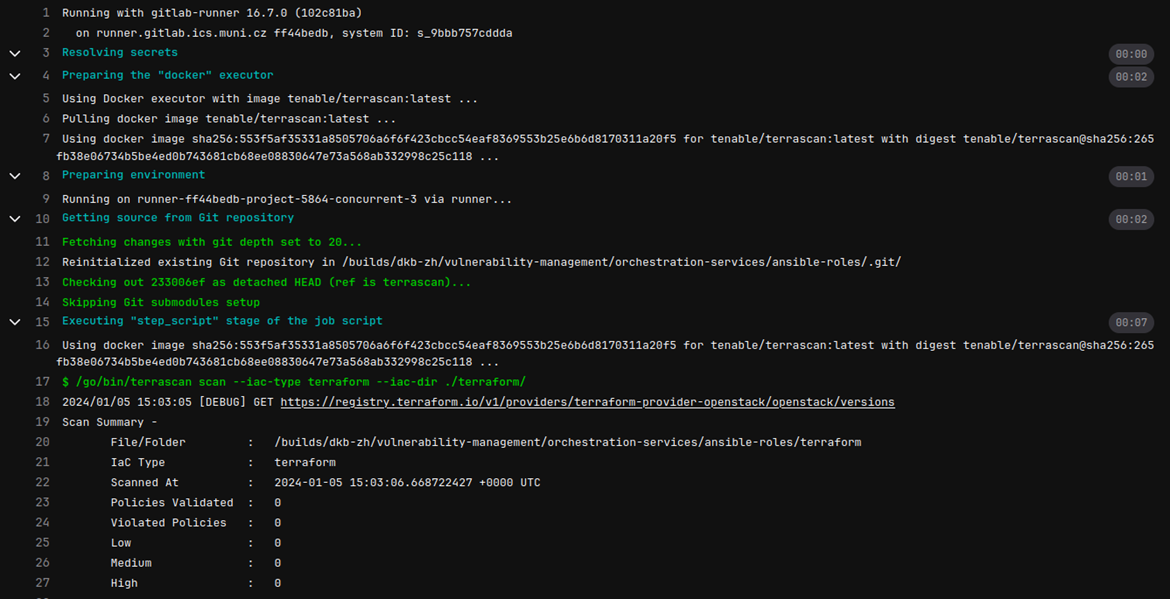
Custom pipelines do not have as nice formatting as the built-in ones, the results are available in the jobs section.
Example Terrascan
As in example above, the structure is the same. To run Terrascan with the Dependency Scanning bot on your terraform code, copy following into .gitlab-ci.yml file.
include:
- template: Security/Dependency-Scanning.gitlab-ci.yml
stages:
- test
terrascan:
stage: test
image:
name: tenable/terrascan:latest
entrypoint: ["/bin/sh", "-c"]
script: - /go/bin/terrascan scan --iac-type terraform --iac-dir .
Example Semgrep
Here is how Semgrep custom pipeline. Be careful not to choose any options that would result in your results getting uploaded to the cloud platform - use semgrep scan, not semgrep ci. The command semgrep ci would also require a API token.
semgrep:
  image: semgrep/semgrep
  variables:
    SEMGREP_GITLAB_JSON: "1"
  script:
    - semgrep scan . --config="r/all" --metrics="off" --error --gitlab-sast -o gl-sast-report.json || true
  artifacts:
    reports:
      sast: gl-sast-report.json
Example Bandit
Bandit is a Python SAST tool, demo shows how to run it with custom configuration.
bandit:
stage: test_security
image: python:latest
script:
- "printf 'exclude_dirs: [\"test\"] \nskips: [\"B703\", \"B101\", \"B113\", \"B308\"]' > .bandit.cfg"
- pip install bandit
- bandit -r . -c .bandit.cfg
Contact
If you want to know more or need help with deployment, feel free to contact us at csirt@muni.cz.
This result was supported by the SOCCER project, funded under Grant Agreement No. 101128073, with the support of the European Cybersecurity Competence Center (ECCC).